Most of us carry our phones everywhere, but half the time we forget they can do more than scroll or text. One of the most underrated features is the simple ability to record sound. Learning how to record on iPhone isn’t just about tech curiosity — it’s about making sure ideas, moments, and sounds don’t slip away.
Think about it: a quick joke from a friend, a guitar riff you stumbled on, a professor explaining something you’ll need later. Those are gone in seconds if you don’t catch them. Knowing how to record audio on iPhone turns your phone into a pocket notebook, except instead of scribbles you get the real thing — the voice, the sound, the mood.
And if you’re not sure where to start, don’t worry — the guide below walks you through the basics step by step.
The default way
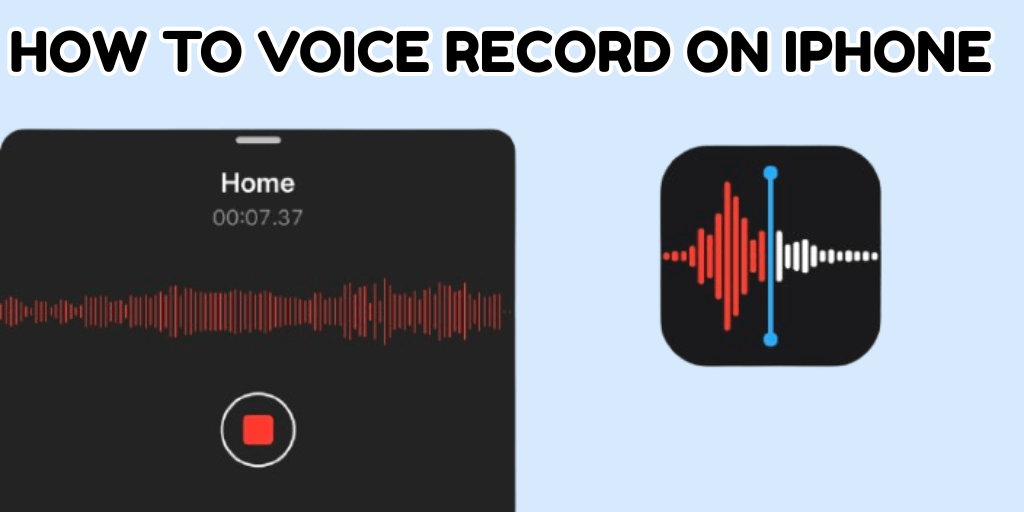
The phone already has a voice recorder on iPhone. It’s not hidden, but people often forget it’s there. If you’ve ever seen “Voice Memos” in your app list, that’s the tool. It’s the simplest way to start when you’re figuring out how to voice record on iPhone.
- Open the app.
- Tap the red button to record on iPhone.
- Speak, play, or just let the sound happen.
- Tap stop when you’re done.
That’s it. The file saves automatically. That might be all you ever need if you’re just after a quick clip.
Editing basics
Most recordings won’t be perfect the first time. You might hit record too early, let it run way longer than you meant, or catch some background noise you didn’t want. With an iPhone, you can jump back in, trim off the extra stuff, cut the ending short, or just record over the part that bothers you. You don’t need a laptop for that part.
There’s also a pause button, which comes in handy if you’re jotting down class notes or sitting through a meeting and want to stop without creating a whole new file.
Sound quality settings
If you dig into settings, you’ll see options to make audio recording on iPhone clearer. You can switch from compressed files to lossless, which keeps more detail. On newer models, you can also adjust how the mic picks up sound — mono, stereo, or even spatial modes.
It might feel like overkill for casual stuff, but if you’re serious about voice recording on iPhone, flipping to high-quality mode helps. Just remember: bigger files take up more storage.
Sharing recordings
After you record audio on iPhone, you’re not stuck with it only on that device. Every recording can be renamed, saved, or shared through messages, email, or cloud storage. You can also AirDrop it to another Apple device to simplify the process.
That’s why the built-in iPhone voice recorder works fine for most people — it already handles the save and share part without effort.
Tips for better sound
The hardware is solid, but a few things will improve results:
- Find a quiet spot. Background hum is harder to remove later.
- Place the phone on a table instead of holding it. Fingers brushing against the mic can ruin takes.
- Keep the mic clear — don’t block the bottom edge with your hand or case.
- Do a short test before recording something important.
- Use Do Not Disturb so notifications don’t cut into the audio.
If you’re serious about learning how to record sound on iPhone, these little steps matter just as much as the settings.
Recording apps
The built-in option works, but sometimes you’ll want more. That’s when you start looking at recording apps for iPhone. The App Store is full of them. Each iPhone recording app comes with its own mix of extras: maybe better file formats, live transcription, and multi-track options.
You don’t have to pick one right away. The built-in tools are enough to learn the ropes. But once you understand the basics of voice recording on iPhone, it’s worth exploring other apps if your needs grow.
Limits and workarounds
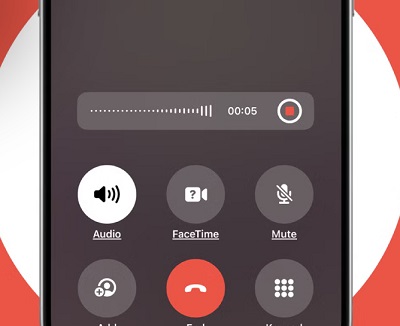
Here’s something people don’t always realize when asking how to record voice on iPhone: you can’t just grab everything. System sound, music from another app, or phone calls won’t record directly with the default setup. That’s a built-in privacy and security limit.
If you need to record a call, you’ll need to use a third-party method or route the audio through another device. Just remember: recording calls has legal restrictions depending on your location. Always check the rules before trying.
Step-by-step recap
A quick checklist for anyone just starting:
- Open Voice Memos.
- Hit record.
- Capture your audio.
- Pause if you need to.
- Stop when done.
- Rename, trim, or enhance.
- Save or share.
That’s the core of how to record on iPhone in practice.
Everyday uses
Why learn this in the first place? Because having a simple iPhone voice recorder in your pocket is helpful in everyday life. A few examples:
- Students can grab lectures without relying on messy notes.
- Musicians can save a riff before forgetting it.
- Journalists can capture interviews without hauling gear.
- Regular users can save family stories or conversations.
It doesn’t matter if you’re using the stock tool or exploring recording apps for iPhone later. Once you know how to record audio on iPhone, it becomes second nature.
Closing thoughts
The iPhone makes voice memo iPhone recording simple, but there’s depth if you want it. You can keep things basic — tap, record, save — or dive into settings, editing, and outside apps.
The main thing is not overthinking it. If you’re asking yourself how to record sound on iPhone, the answer is: open the app, press the button, and try. The first attempt won’t be perfect, but the next will be better. Over time, you’ll figure out what works best for you.
So please don’t wait until you need it for something important. Try a practice run now. Learn the feel of it. Then, when the moment comes — whether it’s an interview, a class, or just a thought you don’t want to lose — you’ll already know exactly how to handle voice recording on iPhone.
Read Also